Configuring E-mail for Internet Service Providers
Brief
This section describes how to configure e-mail for Internet Service Providers.
Details
Some of the Internet service providers (ISP) block all mail servers
except their own ones. In this case, you have to use the ISP's SMTP server, regardless of what e-mail
provider you actually use, and apply its settings to configure your e-mail.
To configure the e-mail, you need to know the following settings:
If you do not know the SMTP server settings, contact the ISP technical support or browse the Web.
Usually Internet service providers publish detailed instructions on
how to set up e-mail for popular e-mail client applications such as Outlook. The instructions
contain all the information you need to set up the SMTP server settings.
Simply open your browser, start an Internet search engine, and type "How to set up Outlook for your e-mail provider name?"
One of the first entries on the list of the search results will take you to the site with the instructions you are looking for.
To make configuring of e-mail settings easier, E*TRADE FX platform provides the E-mail Configurator wizard. You can use the wizard at any time even when you are not logged on E*TRADE FX platform.
To start the wizard, do one of the following:
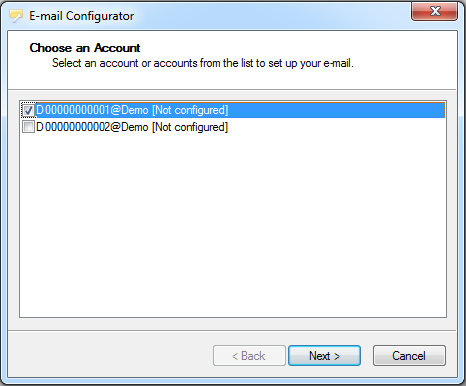
The wizard starts, collects information about your accounts, and then
the Choose an Account page appears.
Step 1: Select the check box next to the account or accounts for which you want to configure the e-mail settings, and then click Next.
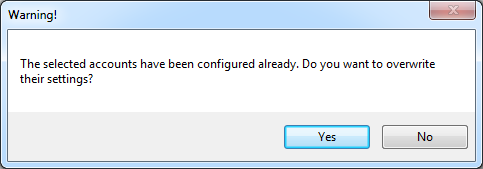
Note: The warning message "The selected accounts..." appears
if you select the accounts that have been configured already. Click Yes
to assign new e-mail settings to the accounts and overwrite the old ones.
Click No to select other accounts to configure.
The Warning! message [show]
Step 2: The Choose an E-mail Provider page appears.
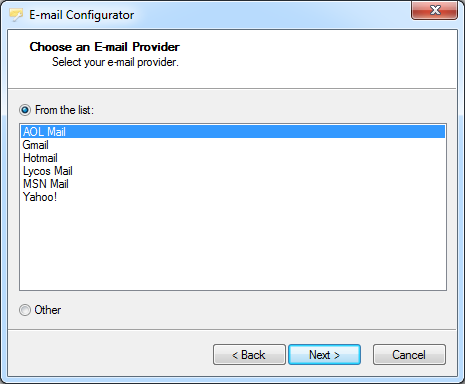
Click Other, and then click Next.
Step 3: The Set up the SMTP Connection page appears.
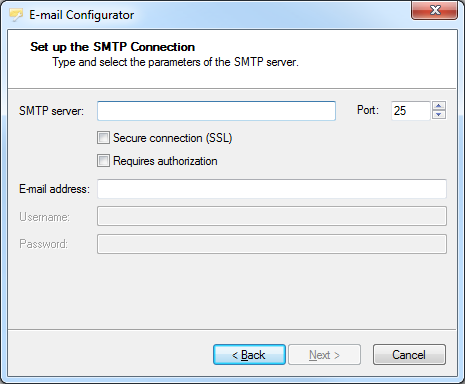
3.1 Specify your e-mail address and the SMTP server settings:
3.2 Click Next.
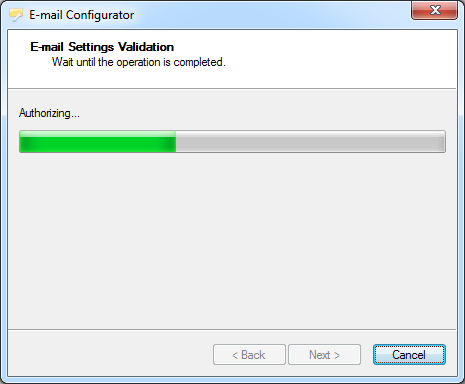
Step 4: Wait while the E-mail Settings Validation progress page is being displayed.
The E-mail Settings Validation page [show]
Note: During the validation, the wizard tries to connect to the mail server and pass authentication.
Step 5: Proceed in accordance with the instructions of the page that appears. It can be one of the following:
The Test E-mail Message page [show]
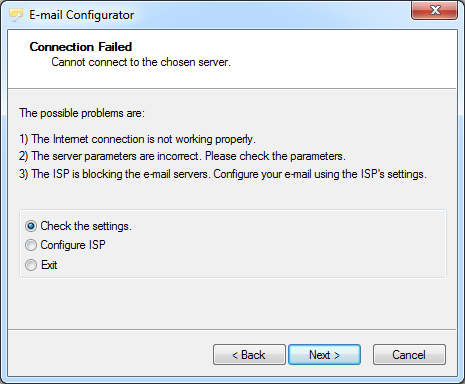
The Connection Failed page [show]
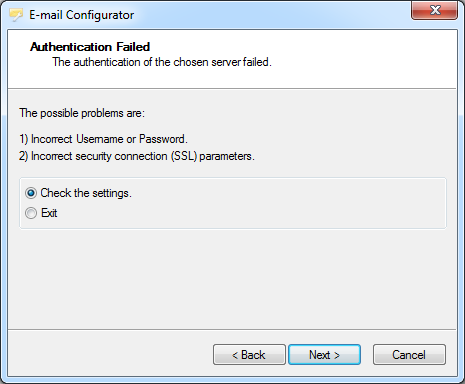
The Authentication Failed page [show]
Step 6: The Test E-mail Message page allows to send
a test e-mail message and verify the configuration finally.
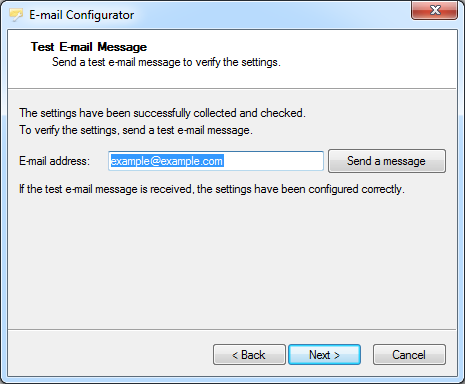
Click the Send a message button.
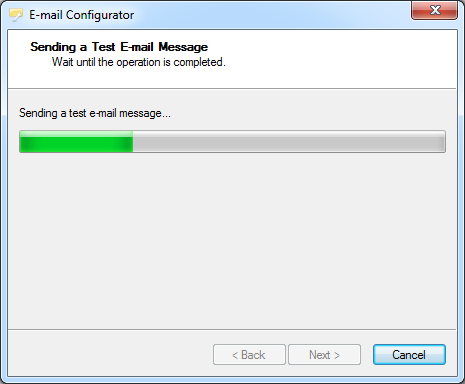
Step 7: Wait while the Sending a Test E-mail Message progress page is being displayed.
The Sending a Test E-mail Message page [show]
Step 8: Check your mail box, and, if the test e-mail message is received,
on the Test E-mail Message page, click Next.
If the test e-mail message is not received, see What To Do If Test E-mail Message Is Not Received?
The Test E-mail Message Content [show]
Step 9: The Finish page appears.
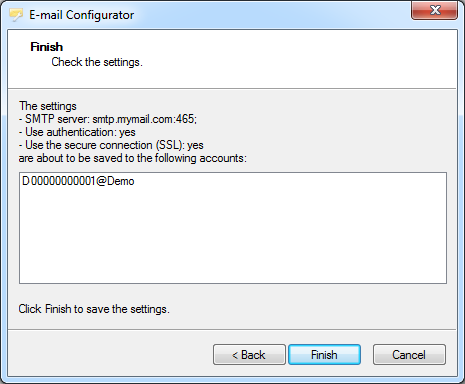
Check the e-mail settings and accounts, and then click Finish.
The wizard saves the e-mail settings and closes. Now you can configure a strategy or alert to send e-mail notification messages:
| Articles | |
|
What To Do If Connection Fails? This section describes what to do if the wizard fails to connect to the mail server. |
|
|
What To Do If Authentication Fails? This section describes what to do if the wizard fails to pass authentication on the mail server. |
|
|
What To Do If Test E-mail Is Not Received? This section describes what to do if the test e-mail message is not received. |